
The Bitcoin blockchain has seen a lot of advancement lately, and the Bitcoin Name Service (BNS) is the latest innovative use case on the chain.
Like Ethereum Name Service, the BNS is a decentralized naming protocol that gives web3 users unique, easily identifiable, and human-readable names and addresses on the Bitcoin chain.
Therefore, instead of the long machine-only readable strings of web3 identity, BNS maps customized names to public Bitcoin addresses to improve user and web3 experience while increasing user-friendliness on Bitcoin.
Bitcoin Name Service is still relatively new; thus, buying a domain name can be nerve-wracking. Fortunately, we’ll take you through the new age of name service on Bitcoin, how it works, and a step-by-step guide to buying a new .btc domain name.
What is Bitcoin Name Service (BNS)?
Registered by Stacks, the Bitcoin Name Service is a decentralized naming registry exclusive to the Bitcoin chain. Bitcoin Name Service works like web2’s Domain Name Service by mapping human-readable names with machine-readable web3 identities.
BNS are registered through a smart contract on the Stack network, a layer two network on Bitcoin. Thus, it inherently leverages the security and resilience of the Bitcoin chain.
Anyone can register on the Bitcoin Name Service by interacting with the BNS smart contract. Registered names are recorded on the Bitcoin chain as a hash and transmitted throughout the Stack node.
Afterward, the registree gets their Decentralized Identifiers – an external identifier comprising a domain and subdomain mapped to public keys. Usually, .btc names are grouped into three global hierarchical layers. This includes the Namespace, BNS names, and BNS subdomains.
Steps to Buy a .btc Domain Name on BTC.US
Registering a new .btc domain name is easy. All you have to do is set up a Stack-compatible crypto wallet, fund it with Stacks or Bitcoin tokens, and then register a new .btc name in a registry.
Once you’re done, you can easily trade or exchange fungible and non-fungible tokens with your .btc name. You can also buy, sell or transfer your .btc domain name on secondary marketplaces like Gamma.io.
To set up a new crypto wallet:
- Download Xverse or any Bitcoin-compatible wallet
- Set up a new wallet
- Fund your wallet with BTC or STX token
- Search for a name
- Sign up for an account
- Register the name
Download Xverse or any Bitcoin-compatible wallet
Before you can buy a .btc name, you must set up a new Bitcoin native wallet like Xverse, Hiro or Leather wallet.
Setting up a new Xverse wallet is as simple as creating every other crypto wallet.
To download Xverse on your PC, go to www.xverse.app on your web browser. Click the DOWNLOAD button on the top right corner of the homepage.
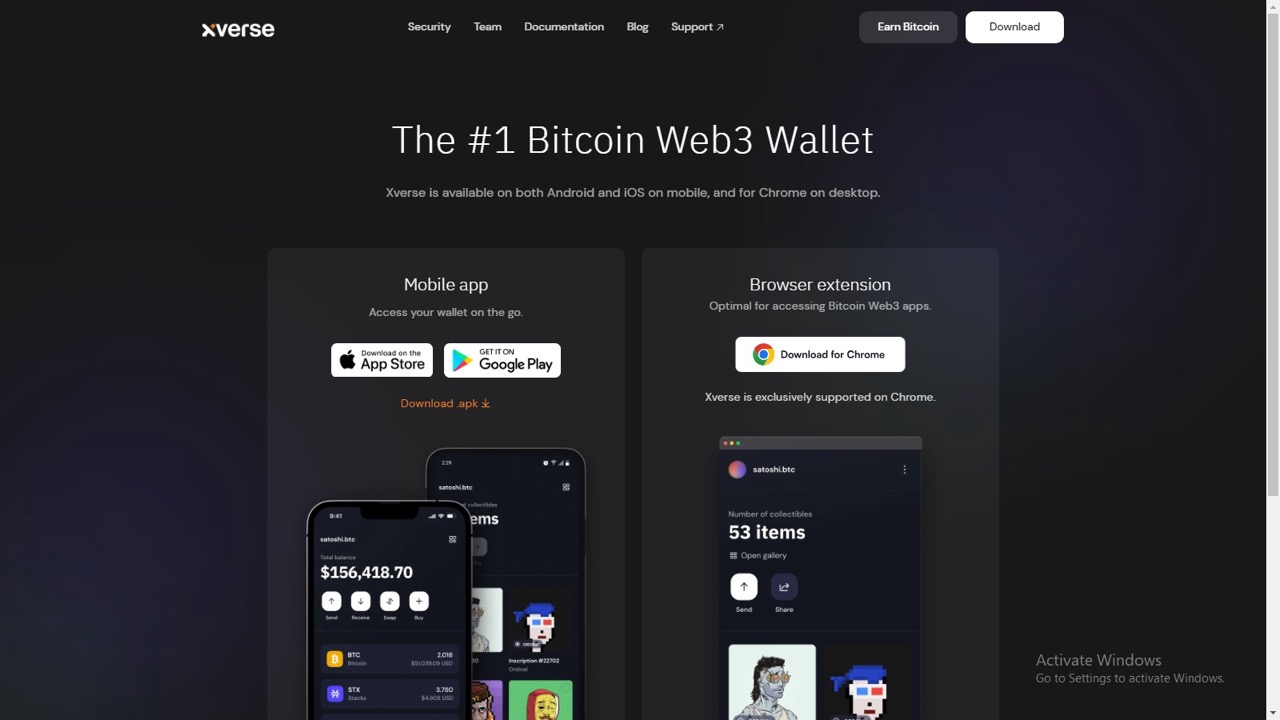
On the download page, you can view various options for your devices.
If you’re a mobile app user, simply click the APP STORE option for iOS devices and GOOGLE PLAY for Android devices.
You can also select the DOWNLOAD FOR CHROME option to download and set up the Xverse wallet on your Chrome browser.
This should automatically redirect you to the Chrome browser extension store. Continue by clicking the ADD TO CHROME button.
Set up a new wallet
Once the download is complete, open the XVERSE wallet from your extension list in the top navigation bar.

To set up a new wallet, click on CREATE WALLET. You can review the introductory notes or skip to the setup page.
If you’re a new user, you must back up your seed phrase by clicking the BACKUP NOW button on the setup page. The seed phrase allows you to recover your wallet if you lose access. Therefore, ensure you keep it safe from anyone’s reach.
Confirm seed phrase backup and set up a unique and strong wallet password. Click CONTINUE to finish the setup.
Fund your wallet with STX tokens
After setting up your Xverse wallet, you have to fund it with enough STX tokens. You can buy STX tokens from Binance or any other CEXs.

To deposit STX tokens into your Xverse wallet, open your wallet and click on STX > RECEIVE. Copy the deposit address that pops up. You can also withdraw STX by scanning the generated deposit QR code.

Paste the deposit address on the STX withdrawal page in Binance. Select Bitcoin as the chain and input the amount of STX you’d like to withdraw.
Review the withdrawal details before finalizing the transaction. The STX token will be deposited in your Xverse wallet once the transaction has been completed on-chain.
After setting up a crypto wallet, you’re set to get your new .btc domain name.
Search for a name

After funding your wallet with STX, navigate to www.btc.us. On the homepage, look for your preferred name using the search bar.
If the name has not been registered before, a pop-up notifying you that the name is AVAILABLE for 2 STX/5 YEARS will appear.
Therefore, for 2 STX (~$1.2), you can use a .btc name for five years. Meanwhile, only one unique .btc name can be used or attached to a web3 address.
Sign up for an account

To continue purchasing, you must sign up for a BTC.US account with your wallet. On the purchase page, click on CREATE DECENTRALIZED ACCOUNT.

Connect your Xverse waller in the prompt that pops up afterward.

After signing up, click on CONTINUE and accept the refund policy that pops up.
Register a new name

In the final step, select a plan for payment between BASIC and ADVANCED.
- BASIC PLAN
The BASIC plan is newbie-friendly and refundable. Also, only one transaction is needed to complete registration. However, transactions can be front-runned.
Also, with the basic plan, the name will be created without a zone file. Therefore, you’ll have to create a zone file before mapping your name with a TLD (top-level domain).
If you select the basic plan, click on SEND from the payment page and complete the transaction in the wallet prompt that pops up.
- ADVANCED PLAN
On the other hand, the ADVANCED plan is available for experienced users. It is non-refundable, and two separate transactions are needed to complete registration.
However, there is a reduced chance of frontrunning and zone files are generated automatically.
If you select the advanced plan, complete the pre-order payment by clicking SEND to reserve the name.
Once the pre-order payment is complete, click SEND again from the REGISTER tab to complete registration.
For both transactions, ensure you confirm them in the wallet prompt that pops up.
An important feature of BNS domain names is that you can link a top-level domain or your website to the .btc name.
Unlike other name services, BNS purchased on btc.us allows users to generate a subdomain that can be linked to their top-level domain website.
For instance, if you register mybns.btc and resolve it to the website mybns.com, anyone can access the website by typing mybns.btc in their URL bar.
How to Buy .btc Domain Name on Gamma
As illustrated above, registering a new BNS with BTC.US is straightforward. However, if your preferred name has been registered, or you’d like to acquire an already registered name, you can explore secondary BNS marketplaces like Gamma.io.
All you have to do is search for the name or explore listed BNS names, purchase it, and resolve it to your Bitcoin address.
To buy a .btc name on Gamma.io:

Go to stacks.gamma.io/collections/bns on your web browser. On the homepage, click on CONNECT WALLET > STACKS.
In the wallet prompt that pops up, unlock your Xverse wallet with your password and confirm the connection.

Once you’re in, use the search bar to look for your preferred name from the BNS collection.
Alternatively, you can use the filter options available in the right-side menu. You can filter according to price, availability and attributes.

Click on a preferred name and continue purchasing by tapping BUY NOW > BUY FOR ** (amount) STX. Confirm the transaction in your wallet to complete the purchase.

However, if you already have a BNS name attached to your Gamma address or want to send it to a different address, click SEND TO A DIFFERENT WALLET.
Input the recipient’s wallet address, then BUY FOR ** STX. Complete the transaction in the wallet prompt that pops up, and that’s all.
How to List .btc Name for Sale
Aside from buying BNS names, Gamma.io also supports listing names for sale. If you’d like to trade your BNS name for some STX tokens:
- Visit stacks.gamma.io/collections/bns and connect your wallet.

- Click on the round-shaped profile icon to go to your Gamma profile. In your profile, look for the available BNS name from the COLLECTED tab and click LIST.
- Specify the list price and complete the listing to deploy the smart contract.
Conclusion
As mentioned in the article, Bitcoin Name Service (BNS) represents a significant development within the Bitcoin blockchain, offering web3 users a decentralized naming protocol for easily identifiable and human-readable names and addresses.
Buying a .btc domain name, while still relatively new, has been made accessible and straightforward through this guide.
By creating a Stack-compatible crypto wallet, funding it with STX tokens, and following the step-by-step instructions to search for, sign up, and register a .btc domain name, you can join the new era of Bitcoin naming services.
Furthermore, secondary marketplaces like Gamma.io provide options for purchasing or trading already registered BNS names.
The Bitcoin Name Service not only simplifies the use of web3 identities but also allows linking top-level domains to .btc names, making it a versatile and powerful addition to the Bitcoin ecosystem.
As the adoption of BNS continues to grow, it promises to enhance the usability and accessibility of the Bitcoin blockchain for all users.
Related Posts: